
Tutorial
Demo
Watch this video to see a demo of how this plugin works.
Installation instructions
The installation steps are the same for all license versions.
Login to your WordPress site with an Admin account.
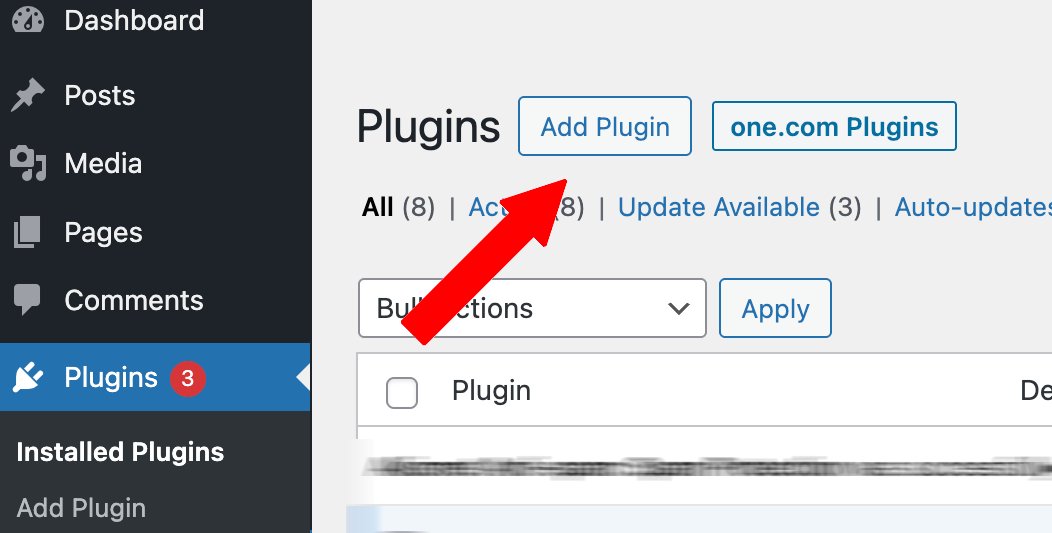
Go to Plugins → Click on "Add New" and then "Upload plugin":
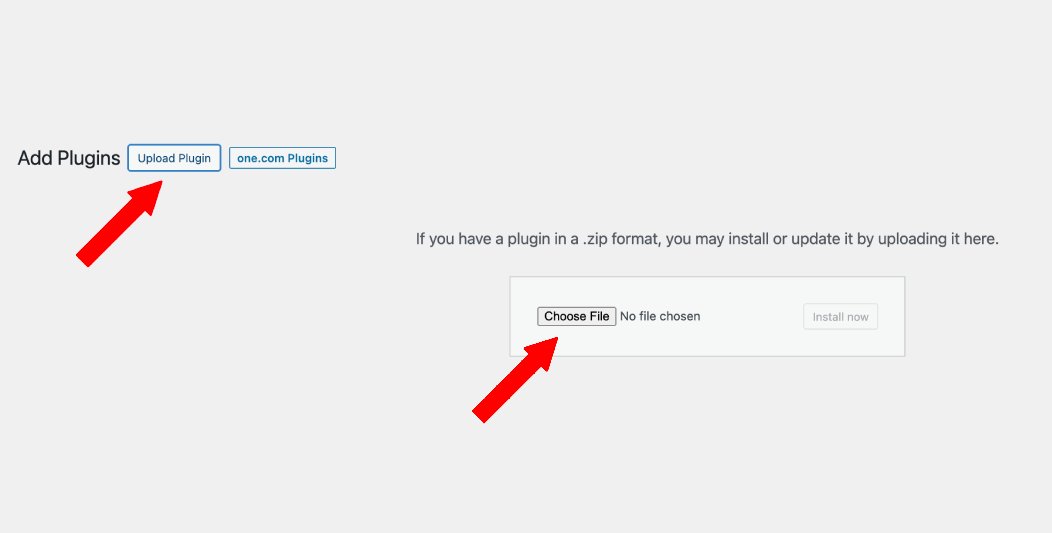
Browse the zip file, click on “Choose file”, and upload it. Do not unzip the file.
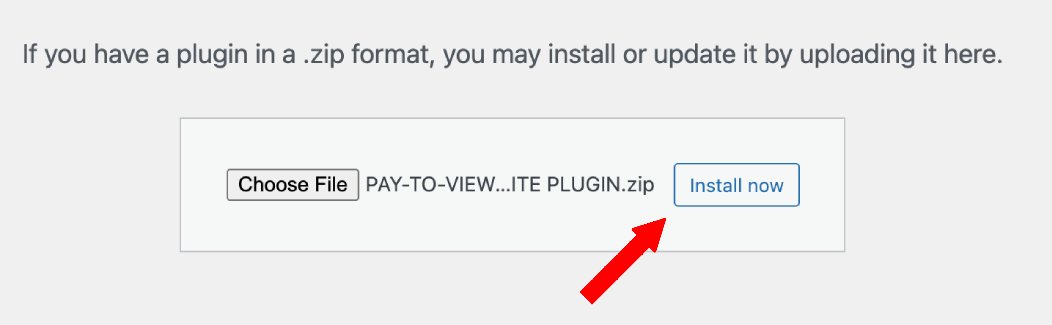
Install the plugin:
Activate the plugin and it will be added to the left-side menu in WordPress.
The process in Pay-To-View works like this in short steps. More detailed instructions follow below.
Step
Details
1 Configure Settings
Visit the Settings page to configure your rental options like PayPal integration, price, duration, and more.
2 Generate shortcodes
Visit the Shortcode page to generate a rental shortcode for your media.
3 Insert shortcode
Copy and paste the shortcode into the post or page where your media is embedded.
4 Publish the page
Publish your page so the rental button is visible to users.
5 A rental is made
Visitors click Rent this Movie and the PayPal or credit card buttons appear.
6 Rental access granted
After successful payment, access is granted to the media file for the duration you set in Settings.
7 Payment is logged
All completed payments are logged on the Rental page.
8 Rental expires
The visitor will have access to view the media file until the configured duration has expired.
If you encounter any issues during installation, please refer to our support page.